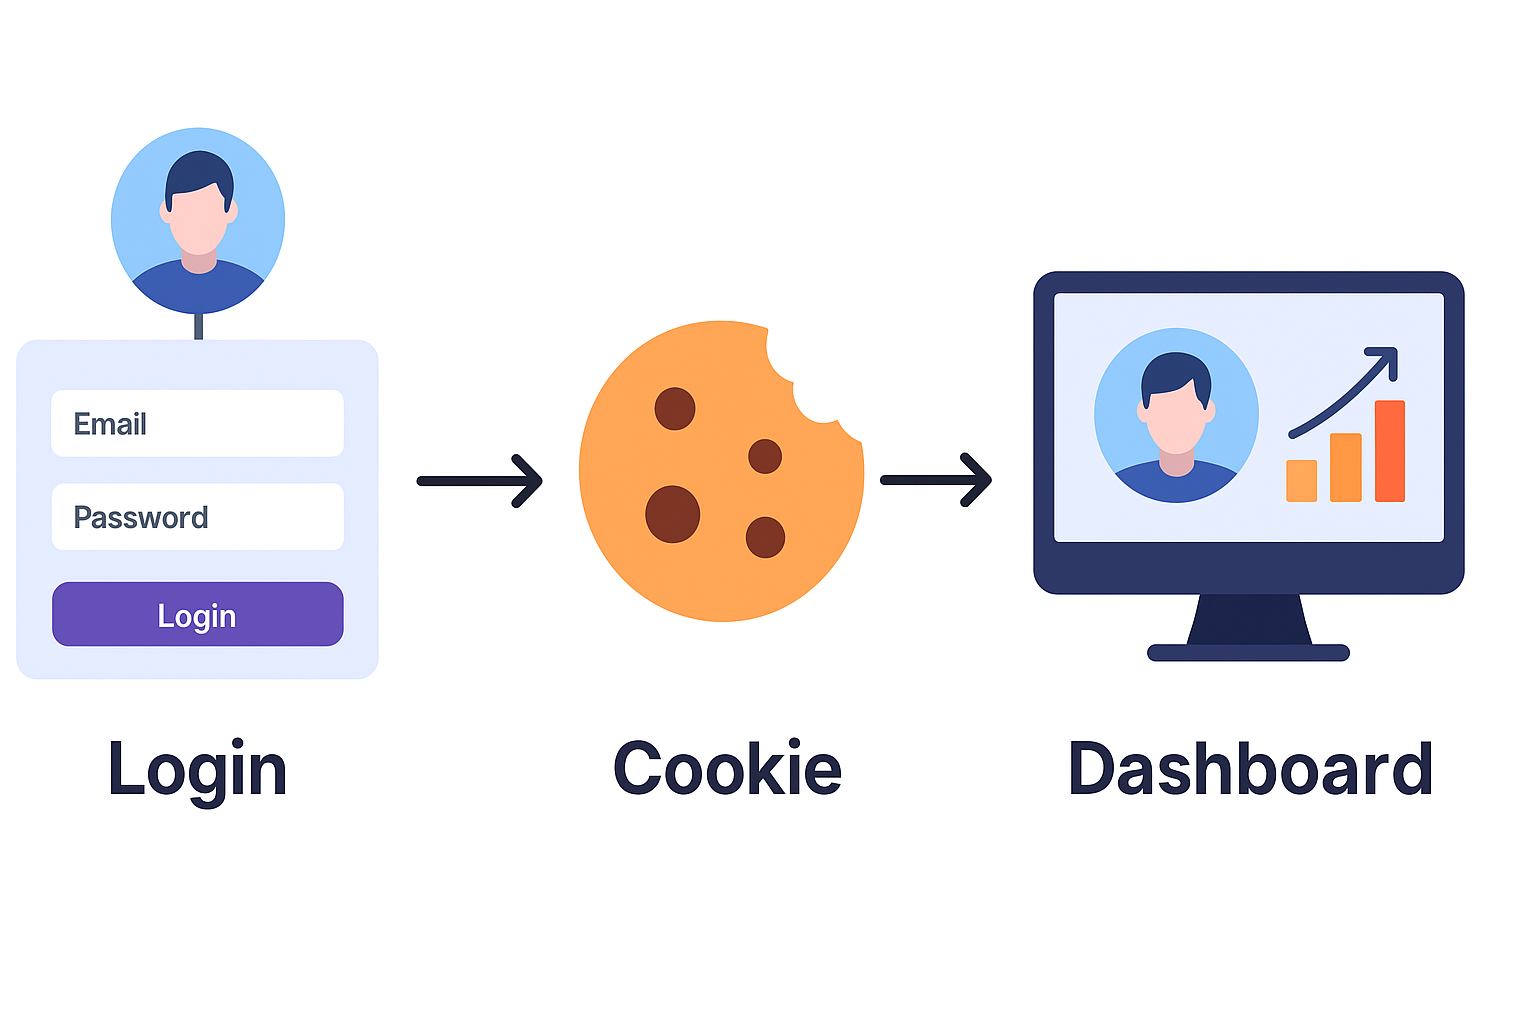
Authentication is one of the most important parts of any modern web application. Whether you’re building a portfolio, SaaS platform, or an e-commerce app, you’ll need a way for users to securely sign up, log in, and manage their sessions.
In this guide, I’ll walk you through setting up authentication in Next.js 15 (App Router) using modern best practices. We’ll use TypeScript, Next.js server actions, cookies/sessions, and Tailwind CSS for styling.
By the end, you’ll have a working authentication system with:
- ✅ User registration
- ✅ Login & Logout
- ✅ Protected routes
❓ Why Authentication Matters
- Keeps user data secure
- Enables personalized experiences (e.g dashboards)
- Builds trust in your application
- Lays the foundation for features like payments, subscriptions, or role-based access
1️⃣ Step 1: Setting Up the Next.js Project
First, create a new Next.js 15 project with TypeScript and Tailwind CSS:
npx create-next-app@latest my-auth-app --typescript --tailwind
cd my-auth-app
Copy the commands above into your terminal and that will give you a fresh Next.js 15 setup with the App Router enabled.
2️⃣ Step 2: Creating the Database Model
For simplicity, let’s use Prisma + SQLite (works with PostgreSQL/MySQL too).
Install Prisma:
npm install prisma @prisma/client
npx prisma init --datasource-provider sqlite
Update yourprisma/schema.prisma :
model User {
  id        Int      @id @default(autoincrement())
  email     String   @unique
  password  String
  createdAt DateTime @default(now())
}
Then migrate:
npx prisma migrate dev --name init
Don't worry if you want to know more about Prisma, I will cover that in another blog soon
3️⃣ Step 3: Handling User Registration
We’ll use Next.js Server Actions for form submissions.
app/register/page.tsx :
"use client";
import { useState } from "react";
export default function RegisterPage() {
const [loading, setLoading] = useState(false);
async function handleRegister(e: React.FormEvent) {
e.preventDefault();
setLoading(true);
const formData = new FormData(e.currentTarget);
await fetch("/api/register", {
method: "POST",
body: formData,
});
setLoading(false);
}
return (
);
}
4️⃣ Step 4: Creating the API Route for Registration
app/api/register/route.ts :
import { NextResponse } from "next/server";
import bcrypt from "bcrypt";
import { prisma } from "@/lib/prisma";

export async function POST(req: Request) {
  const formData = await req.formData();
  const email = formData.get("email") as string;
  const password = formData.get("password") as string;

  const hashedPassword = await bcrypt.hash(password, 10);

  await prisma.user.create({
    data: { email, password: hashedPassword },
  });

  return NextResponse.json({ success: true });
}
5️⃣ Step 5: Login & Session Handling
We’ll use cookies to keep users logged in.
app/api/login/route.ts :
import { NextResponse } from "next/server";
import bcrypt from "bcrypt";
import prisma from "@/lib/prisma";
import { cookies } from "next/headers";

export async function POST(req: Request) {
  const formData = await req.formData();
  const email = formData.get("email") as string;
  const password = formData.get("password") as string;

  const user = await prisma.user.findUnique({ where: { email } });
  if (!user) return NextResponse.json({ error: "Invalid credentials" }, { status: 401 });

  const valid = await bcrypt.compare(password, user.password);
  if (!valid) return NextResponse.json({ error: "Invalid credentials" }, { status: 401 });

  // Await the cookies() call
  const cookiesStore = await cookies();
  cookiesStore.set("user", JSON.stringify({ id: user.id, email: user.email }), {
    httpOnly: true,
    path: "/",
    secure: process.env.NODE_ENV === "production",
    sameSite: "lax"
  });

  return NextResponse.json({ success: true });
}
6️⃣ Step 6: Protecting Routes
We can read cookies inside server components:
import { cookies } from "next/headers";
import Link from "next/link";

export default async function DashboardPage() {
  const cookiesStore = await cookies()
  const user = cookiesStore.get("user");

  if (!user) {
    return (

        You must log in to view this page.
        Go to Login

    );
  }

  return (

      Welcome back!
      {JSON.parse(user.value).email}

  );
}
7️⃣ Step 7: Logout
We can read cookies inside server components:
// app/api/logout/route.ts
import { NextResponse } from "next/server";
import { cookies } from "next/headers";

export async function POST() {
  const cookiesStore = await cookies()
  cookiesStore.delete("user");
  return NextResponse.json({ success: true });
}
And that’s it 🎉 You’ve just built a simple authentication system in Next.js 15 with App Router.
Through this project, I learned:
- How powerful server actions and API routes are in Next.js 15
- How TypeScript makes authentication logic safer
- How Tailwind CSS helps build clean forms quickly
- How smooth deployments are on Vercel
This setup is great for learning and small apps. For production, consider using NextAuth.js or Auth.js, which provide OAuth, JWTs, and more advanced security out of the box.